
New Construction with Sillites®


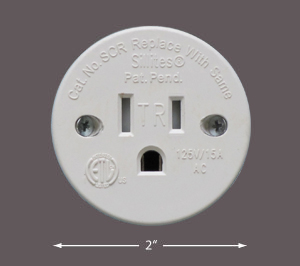
- The smallest 120 volt 15 amp outlet on the market. NO additional junction box is needed.
- Tamper resistant to meet section 406.11 of the 2008 NEC.
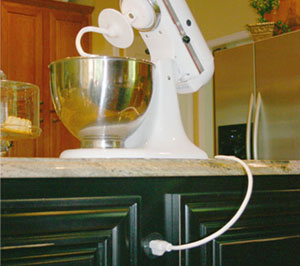
- Use in: Window Sills, Mantels, Kitchen Islands, Cabinets, Baseboards and in other wood surfaces. Add Floor Ring to use in floors.
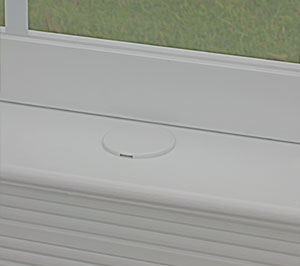
- Mounts flush.
- Easiest receptacle to install in any wood surface - simply drill a 1-3/4” hole instead of cutting out for a square junction box.
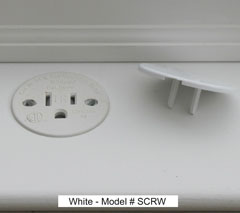
- Includes matching cover cap that can be painted in the field.
- Available in brown (#SCRBR), black (#SCRMB) & white (SCRW).
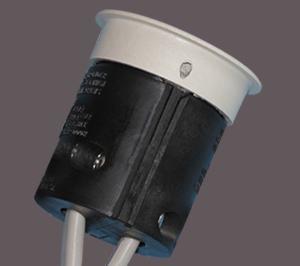
- Accepts one or two sections of 12/2 or 14/2 Romex, for easy “daisy-chain” wiring.
SCR Installation Instructions
Click to download the SCR Rough-In or Wiring instruction sheets.


STEP 1
Pre-Wire with one or two sections of 14/2 or 12/2 Romex.


STEP 2
Drill a 1-3/4” hole in the mounting surface at least 2-1/4” deep. Center the hole at least 1-1/8” from the edge or sash. In 2x4 stud walls, crown molding can be used to create a cavity beneath an extended stool.

STEP 3
Wire the SCR for either end of run, 1-wire or “daisy-chain”, 2-wires. Then attach doors to cover terminals.

STEP 4
Secure the SCR with the #4 wood screws provided and insert the paintable cover cap.
