
Remodelling with Sillites®


- SCR available in brown (#SCRBR), black (#SCRMB) & white (SCRW)
- RR9 available in white (#RR9W)
- Both versions rated 125 volt, 15 amp & include paintable cover cap. SCR is also TR rated.
NOTE: RR9W is intended for use with SL7 candles. Can be used with SL9 candles also by ordering a base ring for the SL9 candle.
Remodeling Installation Instructions
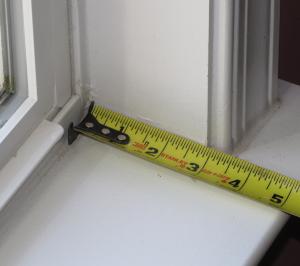
STEP 1:
Measure width of stool. Need at least 2-3/4" within wall cavity to use the SCR. If less, then use the RR9.
The RR9 is only 1" deep and sits ˝" above stool
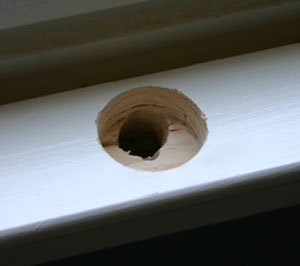
STEP 2
Drill a 1-1/2" diameter hole with center at least 1" from the sash. Hole must be at least ˝" deep. Then drill a smaller hole in rear for the wire to enter the wall cavity.

STEP 3
"FISH" the wire from the RR9 through the wall to the nearest outlet. If the outlet cannot be accessed directly, simply pop off the baseboard trim, run the wire down and behind it to the outlet.

STEP 4
Secure the RR9 with the mounting screws. Slide the base ring shipped with the SL7 candle over the RR9. If using an SL9 candle, the base ring needs to be ordered separately.

STEP 5
Plug in the candle and enjoy.
Add PCW photo-cell if needed (see accessories).
The SCR is 2-1/8" deep and sits flush

STEP 2
Drill a 1-3/4" diameter hole with center at least 1-1/8" from the sash. Hole must be at least 2-1/8" deep.

STEP 3
"FISH" 14/2 or 12/2 Romex wire through wall and connect to the SCR and to existing outlet.
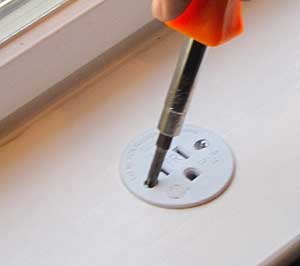
STEP 4
Secure the SCR with the mounting screws.
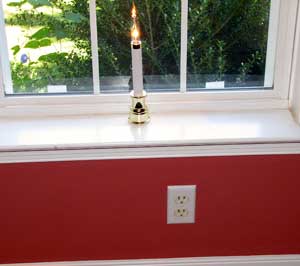
STEP 5
Plug in the candle and enjoy.
Add PCW photo-cell if needed (see accessories).
